Secrets to Getting That Perfect Cookie Crunch
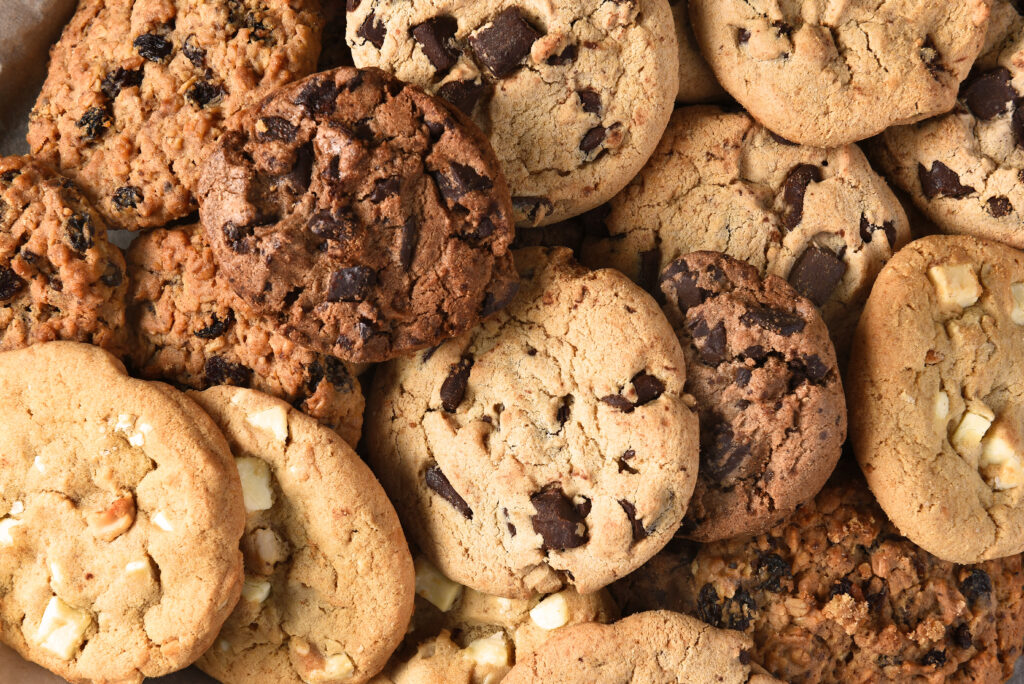
Cookies have long been a favorite treat for people of all ages. Their crisp edges, chewy centers, and delicious flavors make them irresistible. However, beyond just being tasty snacks, cookies also offer a perfect canvas for creativity. With the right decorating techniques, even the simplest cookies can be transformed into stunning edible art. Whether you’re preparing for a festive holiday, a birthday celebration, or just want to impress your friends and family, cookie decorating is both fun and rewarding. In this article, we’ll explore various cookie decorating ideas, techniques, and tips to turn your baked goods into visual masterpieces.
The Basics of Cookie Decorating
Before diving into advanced designs, it’s important to master the basics. First, you need a good cookie base. Sugar cookies and gingerbread cookies are popular choices for decorating because of their smooth surfaces and ability to hold their shape. Once your cookies are baked and cooled, prepare your decorating tools. The essentials include piping bags, icing tips, food coloring, sprinkles, and edible markers.
Royal icing is the most commonly used medium for cookie decorating. Made from egg whites or meringue powder, powdered sugar, and water, it dries hard and provides a beautiful glossy finish. You can adjust the consistency of royal icing depending on your needs. For outlining, a thicker consistency works best. For flooding, or filling in areas, a thinner version will spread smoothly.
Colorful Icing Techniques
Creating vibrant and appealing cookies starts with colorful icing. Use gel-based food coloring for vivid hues without altering the consistency of your icing. You can try ombré effects by blending similar shades together or make use of contrasting colors for a more dramatic impact.
One fun technique is the watercolor method. After the base layer of royal icing dries, dilute gel food coloring with a little vodka or lemon extract and paint on the surface using a fine brush. This technique allows you to add delicate floral patterns, abstract designs, or even landscapes.
Another creative method is marbling. To achieve this effect, outline and flood the cookie with a base color, then add dots or lines of another color while the icing is still wet. Use a toothpick to swirl the colors together, creating beautiful patterns.
Stenciling and Airbrushing
Stenciling is an easy way to create detailed and consistent designs. Place a stencil over the cookie and spread royal icing or spray color over it. When you lift the stencil, you’ll have a crisp, professional-looking image. This is ideal for monograms, seasonal shapes, or geometric patterns.
Airbrushing offers another professional touch. With an airbrush tool, you can apply color gradients, shadows, or intricate designs with minimal effort. It’s particularly useful for themed cookies or large batches where hand-painting every piece would be too time-consuming.
Fun with Fondant and Edible Decorations
Fondant is another great medium for decorating cookies. Rolled fondant can be cut into shapes using the same cookie cutters as your dough, making it easy to cover each cookie perfectly. You can emboss fondant with textures using stamps or rolling pins, paint on it, or add tiny molded figures.
Sprinkles, sanding sugar, edible glitter, and candy pearls add texture and sparkle. Use them to decorate the edges of iced cookies or press them into wet icing to set them in place. These small elements often bring a big visual impact, especially when used with restraint.
Themed Cookie Ideas for Every Occasion
Holiday cookies are among the most fun to decorate. During Christmas, create designs like snowflakes, Santa faces, or Christmas trees. Use white icing for a snowy base and accent with red and green for a festive feel. For Valentine’s Day, decorate heart-shaped cookies with pinks, reds, and messages of love. Easter calls for pastel colors, bunny shapes, and egg designs with polka dots or floral patterns.
For birthdays, you can decorate cookies to match a specific theme—unicorns, dinosaurs, superheroes, or favorite colors. Personalizing cookies with the birthday person’s name or age makes them extra special.
Weddings and baby showers are also perfect occasions for elegant cookie designs. Use soft, muted tones and delicate accents like lace piping or floral motifs. Monogrammed cookies make beautiful wedding favors, while rattles, onesies, and animal shapes suit baby showers well.
3D Cookie Art
If you’re looking to truly impress, try 3D cookie decorating. This technique involves building structures using cookies and icing. Gingerbread houses are the most famous example, but you can also create boxes, baskets, or even cookie cups filled with icing or candy.
Another 3D method involves piping shapes onto parchment paper, letting them dry, and then attaching them to cookies. For example, pipe and dry royal icing flowers and then affix them to a cookie with fresh icing for an impressive layered effect.
Character and Face Cookies
Decorating cookies to resemble people, animals, or characters from pop culture is a fun challenge. Start with a simple outline and flood the base with skin-tone or background color. Once dry, add facial features, hair, accessories, or clothing. This can be done using a combination of icing layers, edible markers, and fine-tipped brushes.
Popular choices include cartoon characters, emojis, or pets. For a humorous twist, try making cookies that resemble your friends or family—great for parties or gag gifts.
Using Edible Images
If you want professional-looking cookies but don’t have advanced decorating skills, edible image printing is an excellent solution. You can print photos, logos, or detailed graphics onto edible paper using food-safe ink. Then, simply apply the image to your cookie with a thin layer of corn syrup or piping gel.
This is perfect for corporate events, weddings, or custom orders, allowing for precise designs that are hard to replicate by hand.
Tips for Success
To ensure your decorated cookies come out beautifully every time, keep a few key tips in mind. Always let your cookies cool completely before decorating—warm cookies can melt icing or cause designs to slide. Practice piping on parchment paper before applying to cookies, especially for intricate work.
Work in layers, allowing each section to dry before adding new details. This prevents colors from bleeding and gives your designs depth. Store decorated cookies in a cool, dry place to allow icing to set fully. Once dry, cookies can be individually bagged or boxed for gifting.
Encouraging Creativity in All Ages
Cookie decorating is a wonderful activity to do with children, friends, or even as a therapeutic solo hobby. Set up a decorating station with various icings, tools, and sprinkles, and let your imagination run wild. There’s no right or wrong way to decorate cookies—each one is a chance to express your creativity.